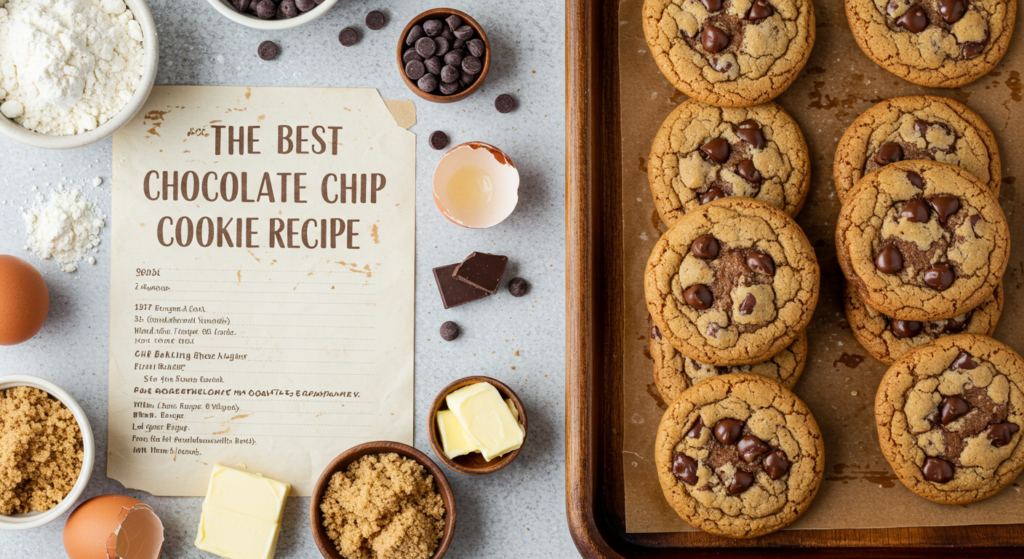
The Best Chocolate Chip Cookies
What makes these stand out? They strike the perfect balance between texture and flavor. Each bite melts in your mouth, thanks to precise measurements of butter, sugar, and vanilla. No guesswork here—just follow the straightforward steps for bakery-quality results every time.
Skip the fuss of waiting hours for dough to set. This version skips chilling, so you’ll have fresh-baked treats in under 30 minutes. Whether you’re a first-time baker or a seasoned pro, you’ll love how reliable and satisfying this method is.
We’ll walk you through everything: measuring flour correctly, preheating the oven to the ideal temperature, and using quality chocolate chips. By the end, you’ll have a tray of cookies that look (and taste) like they came from a professional kitchen.
Table of Contents
Key Takeaways
- No chilling required—start baking immediately after mixing ingredients.
- Balanced textures: crispy edges with soft, doughy centers.
- Simple, pantry-friendly items like all-purpose flour and vanilla extract.
- Step-by-step guidance ensures consistent results for all skill levels.
- Ready in under 30 minutes for quick cravings or last-minute gatherings.
Introduction to the Best Chocolate Chip Cookie Recipe Ever
For decades, home bakers have cherished a recipe that transforms basic pantry staples into irresistible golden delights. Born in American kitchens during the mid-20th century, this formula became a household staple thanks to its foolproof ratios and crowd-pleasing results. Families have tweaked it for generations, refining measurements of butter, sugar, and vanilla to achieve that iconic texture.
What makes this version stand out? It skips complex steps while delivering bakery-level consistency. You’ll need just one bowl and common ingredients like all-purpose flour and room-temperature butter. No stand mixer or specialty tools required—this method prioritizes simplicity without compromising flavor.
The secret lies in precise techniques passed down through home cooks. From creaming sugar properly to mastering oven temperatures, every detail matters. You’ll learn how to avoid common pitfalls, like overmixing dough or misjudging baking time, ensuring each batch comes out perfectly balanced.
Ready to create treats that vanish from the plate? We’ll guide you through each stage—measuring flour correctly, adjusting bake times for chewiness, and selecting quality add-ins. Whether you’re baking for a party or a cozy night in, this recipe adapts effortlessly to your needs.
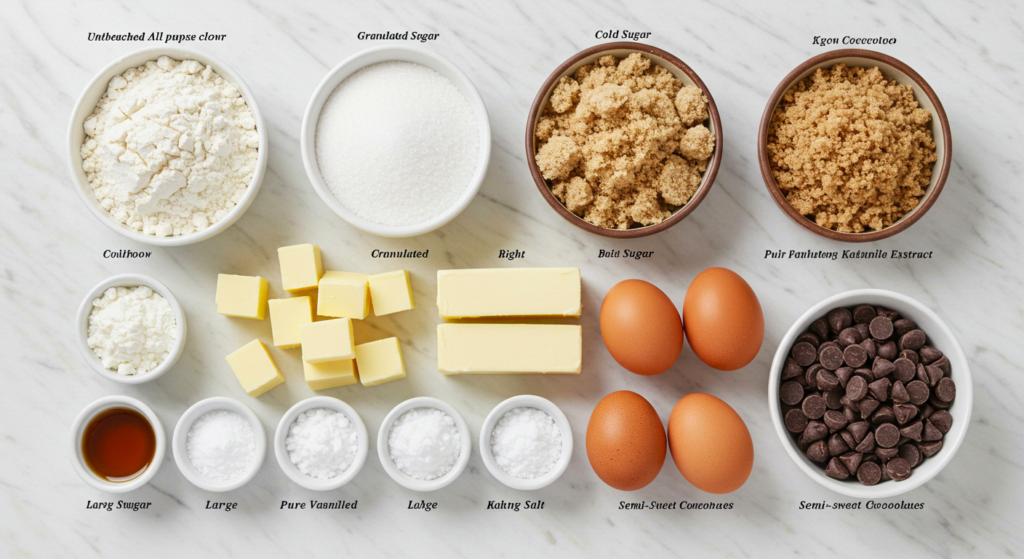
Essential Ingredients and Must-Have Equipment
Baking success starts with precision. Every measured cup and tool choice directly impacts your results. Let’s break down what you’ll need to create treats with crispy edges and soft centers.
Key Ingredients and Measurements
Use this table to ensure accuracy. Spoon flour into measuring cups and level with a knife—never pack it down. Brown sugar should feel moist, while granulated sugar remains dry.
| Ingredient | Measurement | Role |
|---|---|---|
| All-purpose flour | 2 ¼ cups | Provides structure |
| Softened butter | 1 cup | Adds richness |
| Brown sugar | ¾ cup | Creates chewiness |
| Baking soda | 1 tsp | Ensures rise |
Baking Tools and Utensils
A digital scale guarantees exact measurements. Use a stand mixer or sturdy spatula to blend dough evenly. Parchment paper prevents sticking without extra grease.
- Measuring cups (dry) and spoons
- KitchenAid mixer or hand whisk
- Heavy-duty baking sheet
- Silicone spatula for scraping
Room-temperature eggs bind ingredients smoothly. Pure vanilla extract boosts flavor depth. Follow these guidelines, and your batch will rival any bakery’s output.
Prepping Your Cookie Dough
Temperature control and mixing methods are the unsung heroes of baking success. When ingredients harmonize at the right warmth, they create a base that bakes evenly and holds its shape. Let’s break down how to handle each component for flawless results.
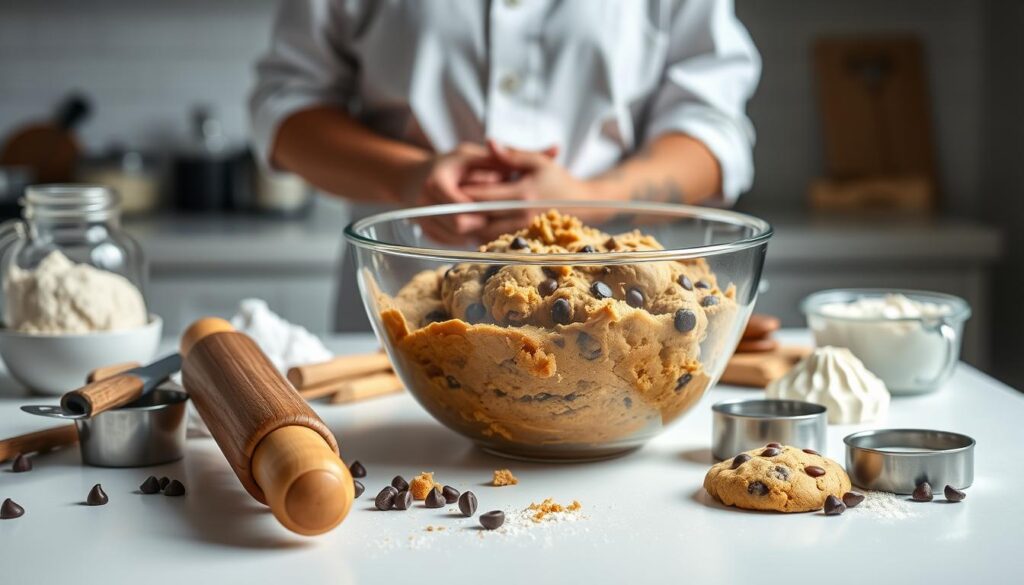
Getting the Dough Right: Temperature and Technique
Start with softened butter—it should dent slightly when pressed but hold its form. Cold butter won’t cream properly, while melted versions make dough greasy. Eggs also need to reach room temperature to blend smoothly into the mixture. Leave them out for 30 minutes or soak in warm water for 5 minutes.
Combine softened butter with sugars first. Use a hand mixer on medium speed until the mix turns pale and fluffy. This aerates the dough, creating lift without excessive spread. Add eggs one at a time, mixing just until incorporated. Overbeating here introduces too much air, leading to uneven textures.
Whisk dry ingredients separately. Fold them into the wet mix with a spatula using gentle, circular motions. Stop as soon as no flour streaks remain—overworking activates gluten, making treats tough. The ideal consistency? Soft and slightly tacky, but not sticking to your fingers.
Proper technique ensures your dough holds chocolate chips without sinking during baking. Chill it for 10 minutes if your kitchen feels warm. This quick rest helps fats solidify slightly, preventing flat results in the oven.
Step-by-Step Cooking Process
Transform simple ingredients into golden perfection with these fail-proof steps. Precision matters here—measurements and timing work together to create that iconic soft center and crispy edge everyone loves.

Mastering the Mix
Start by creaming room-temperature butter with granulated and brown sugars. Use a hand mixer on medium speed for 90 seconds until fluffy—this traps air for better rise. Add eggs one at a time, mixing just until yolks disappear. Drizzle in vanilla extract slowly to evenly distribute flavor.
Whisk flour, baking soda, and salt in a separate bowl. Gradually fold dry ingredients into wet batter using a spatula. Stop when no white streaks remain—overmixing creates dense results. Gently stir in your chips until evenly spaced throughout the dough.
Baking Like a Pro
Preheat your oven to 375°F (190°C) while scooping dough onto a parchment-lined baking sheet. Space mounds 2 inches apart—they’ll spread as they bake. Set your timer for 9-11 minutes but check at 8 minutes. Cookies finish setting on the hot sheet after removal, so pull them when edges turn golden but centers still look slightly underdone.
Let treats cool on the sheet for 60 seconds before transferring. This preserves their chewy texture while preventing breakage. Follow these timed steps precisely, and you’ll achieve bakery-quality results with every batch.
Techniques for Perfectly Soft and Chewy Cookies
Achieving that dreamy softness in your baked goods requires mastering heat control. Small adjustments to your oven’s settings and timing create dramatic differences in texture. Let’s explore how to balance these elements for treats that stay tender days after baking.

Oven Settings and Baking Times
Preheating your appliance to 375°F (190°C) is non-negotiable. This temperature allows fats to melt gradually, giving dough time to rise before setting. An oven thermometer ensures accuracy—many home models run hotter or cooler than their displays show.
| Temperature | Bake Time | Texture Result |
|---|---|---|
| 375°F | 9-11 minutes | Chewy center, crisp edge |
| 350°F | 12-14 minutes | Uniform softness |
| 400°F | 8-9 minutes | Thin, crispy base |
Set a timer for 2 minutes less than the recommended duration. When edges turn light gold but centers still look doughy, pull them out. Residual heat will finish the job without drying them.
“The difference between good and great often comes down to watching the clock.”Professional Baker
Brown sugar’s moisture and melted butter’s spread work together for chewiness. These ingredients delay gluten formation, keeping interiors soft. Combine them with room-temperature eggs for smooth blending.
Even a 5-degree variation can alter spread patterns. For consistent results, avoid opening the door during the first 75% of bake time. Let your creations cool on the sheet for 60 seconds before moving them—this preserves their delicate structure.
Understanding and Achieving Ideal Cookie Texture
The magic of a perfect treat lies in its balance of textures. Brown sugar’s moisture creates chewiness, while granulated sugar promotes crisp edges. Get this ratio wrong, and your results could turn rock-hard or overly flat.
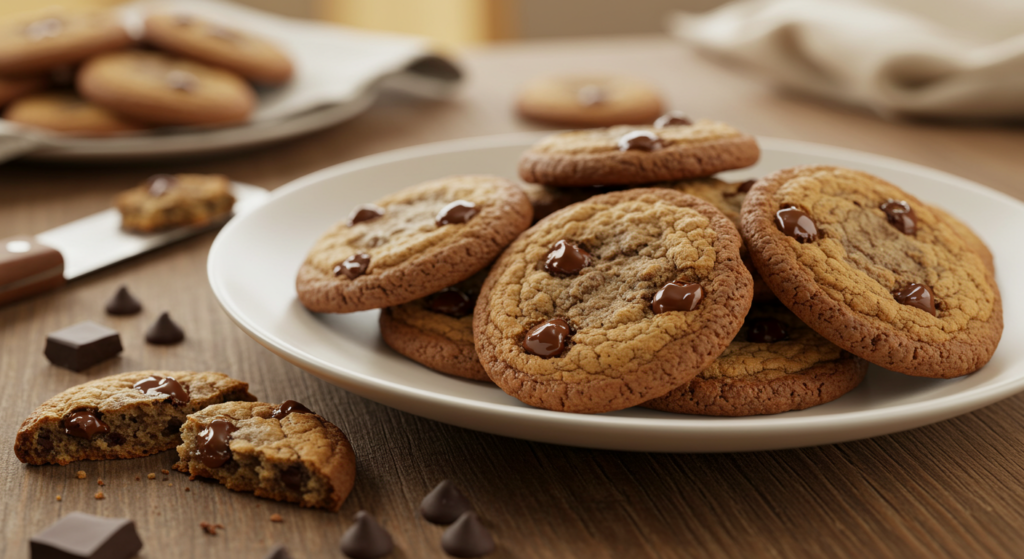
All-purpose flour acts as the backbone. Too much makes dough dense; too little causes excessive spread. For every cup of flour, aim for ¾ cup brown sugar and ¼ cup granulated. This combo ensures a golden exterior with a tender interior.
Temperature plays dual roles. Room-temperature butter blends smoothly with sugars, trapping air for lift. But if dough gets too warm before baking, fats melt prematurely, leading to thin results. Chill portions for 10 minutes if your kitchen exceeds 75°F.
- Overmixing activates gluten, creating toughness
- Undermixing leaves pockets of unmelted butter
- Baking soda needs acidic ingredients (like brown sugar) to activate properly
Struggling with texture? Adjust these factors:
| Issue | Solution |
|---|---|
| Too thin | Reduce butter by 1 tbsp |
| Too dry | Add 1 tsp milk |
| No spread | Let dough rest 15 mins |
Your mixing technique matters as much as measurements. Cream butter and sugars for 90 seconds—no longer. Fold in chips gently to avoid crushing them. These small tweaks transform good results into bakery-worthy masterpieces.
Chocolate Chip Cookie: Secrets to Mastery
Elevating your baking from good to extraordinary lies in mastering subtle techniques. Professional bakers swear by the creaming method—beating room-temperature butter with sugars for exactly 90 seconds. This creates air pockets that give treats their lift without excessive spread.
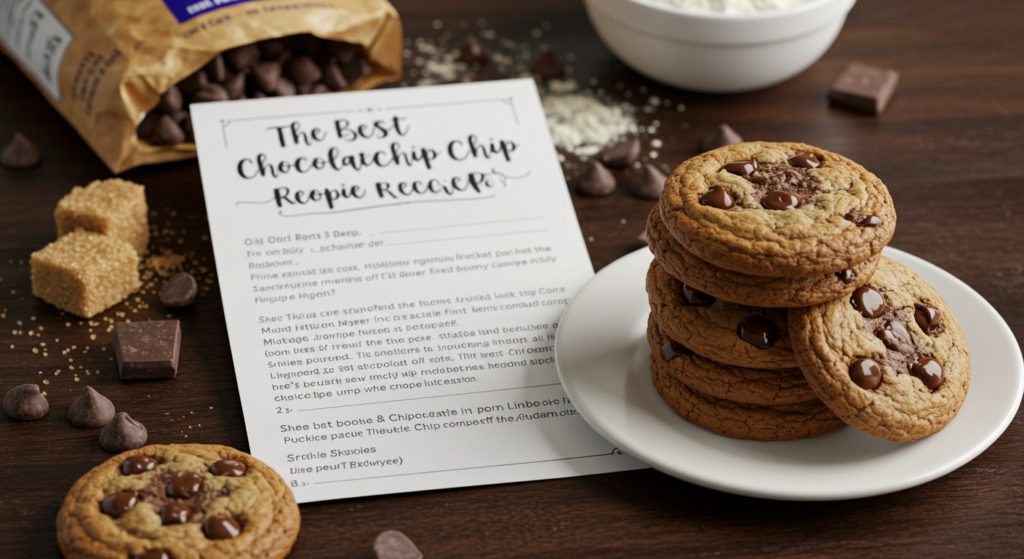
Fold in your mix-ins at the right moment. Toss chocolate chips with a teaspoon of flour before adding them to batter. This prevents sinking and ensures even distribution. For maximum flavor, use two types: small chunks melt into dough, while larger pieces create gooey pockets.
Balance is key. Replace ¼ cup granulated sugar with dark brown sugar for deeper caramel notes. “Measure baking soda precisely,” advises pastry chef Lisa Yang. “Too little limits rise; too much leaves a metallic aftertaste.”
| Mistake | Fix |
|---|---|
| Dense centers | Whisk flour before measuring |
| Flat shape | Chill dough 10 minutes pre-baking |
| Burnt edges | Use light-colored baking sheets |
Preheat your oven 20 minutes before baking. This stabilizes temperatures for consistent results. Pull treats when edges darken but centers still jiggle slightly—they’ll firm up perfectly as they cool.
Avoid overmixing after adding dry ingredients. Stir just until no flour streaks remain. These small adjustments transform standard batches into textural masterpieces with crackly tops and tender interiors.
Customizing Your Cookie Recipe
Want to make each batch uniquely yours? Personalizing your treats starts with smart swaps and measured creativity. Keep the base formula intact while adding flair through mix-ins and flavor boosts.
Adding Nuts and Alternative Mix-Ins
Walnuts and pecans add crunch without overpowering sweetness. Chop them finely for even distribution. For every cup of chips, substitute ¼ cup with your chosen add-in to maintain balance.
| Mix-In | Quantity | Result |
|---|---|---|
| Toasted walnuts | ½ cup | Earthy crunch |
| Dried cranberries | ⅓ cup | Tangy contrast |
| Crushed pretzels | ¾ cup | Salty-sweet combo |
| Rolled oats | 1 cup | Chewy texture |
Exploring Flavor Variations
Swap vanilla extract for almond or maple to change the aroma profile. Add espresso powder (1 tsp) for depth or orange zest (2 tbsp) for brightness. These tweaks won’t alter baking times.
- Replace ¼ cup flour with cocoa powder for double-chocolate versions
- Mix cinnamon into brown sugar for spiced warmth
- Layer peanut butter between dough balls before baking
Always adjust wet ingredients if adding dry mix-ins. For every ½ cup of extras, reduce flour by 1 tbsp. This keeps dough from becoming crumbly. Experiment boldly—your signature twist awaits!
Tips for Freezing and Storing Your Dough
Fresh-baked treats don’t have to be a last-minute project. With smart preparation, you can enjoy warm desserts anytime while reducing kitchen waste. Let’s explore methods to preserve dough quality and extend freshness.
Effective Freezing Methods
Start by scooping dough into uniform balls using a tablespoon. Place them 1 inch apart on a parchment-lined baking sheet. Freeze uncovered for 90 minutes—this flash-freezing step prevents sticking and maintains shape.
Transfer frozen portions to airtight containers or freezer bags. Label with the date and bake instructions. Properly stored, they’ll stay fresh for 3 months. Need cookies fast? Bake directly from frozen—just add 2 extra minutes to your usual time.
- Use wax paper between dough layers in containers
- Remove excess air from bags to prevent freezer burn
- Thaw refrigerated dough for 30 minutes before baking
For baked goods, store cooled treats in sealed containers with a slice of bread. The bread absorbs excess moisture, keeping textures soft for up to 5 days. Avoid plastic wrap—it traps steam and creates sogginess.
Freezing lets you bake small batches as needed. No more stale leftovers or rushed mixing sessions. Simply grab pre-portioned dough and pop it in the oven whenever cravings strike.
Troubleshooting Common Baking Hurdles
Even experienced bakers occasionally face kitchen challenges. Don’t panic—most issues have simple fixes once you identify the root cause. Let’s tackle common problems that might affect your results.
Addressing Dough Consistency Issues
If your mixture feels too sticky, add 1 tablespoon of flour at a time until it holds shape. For dry dough, mix in milk ½ teaspoon at a time. Always check expiration dates—old baking soda won’t activate properly, leading to dense results.
Measure ingredients twice if textures seem off. Packed brown sugar adds moisture, while granulated varieties affect spread. Room-temperature butter blends evenly, but melted versions create flat shapes. Chill dough for 10 minutes if it feels warm.
Preventing Cookie Spread and Flattening
Too much spreading? Your oven might run cool. Use an thermometer to verify accuracy. Over-creaming butter introduces excess air, causing collapse. Mix just until combined—vigorous stirring develops gluten.
| Issue | Quick Fix |
|---|---|
| Thin, crispy edges | Reduce sugar by 2 tbsp |
| No rise | Replace baking soda |
| Uneven browning | Rotate sheet halfway |
Test-bake single portions before committing to a full batch. Small adjustments let you refine textures without wasting ingredients. Remember: Mastering any recipe involves learning from minor setbacks.
Final Thoughts and Serving Suggestions
Your freshly baked creations deserve a memorable presentation. The magic of this formula lies in its reliable ratios—precise amounts of brown sugar and baking soda ensure consistent rise and caramelized edges every time. Let’s explore ways to turn these treats into showstoppers.
Elevating Your Cookie Experience
Serve warm portions with a scoop of vanilla ice cream for contrasting temperatures. The cold cream melts into the soft centers, creating a luxurious dessert. For gatherings, stack them vertically on a cake stand with drizzled chocolate between layers.
Pair with beverages that highlight their flavors:
| Pairing | Quantity | Effect |
|---|---|---|
| Cold milk | 8 oz glass | Balances sweetness |
| Espresso | 2 oz shot | Enhances caramel notes |
| Berry smoothie | 6 oz cup | Adds fruity contrast |
Cool baked goods on a wire rack to maintain crispness. For parties, thread mini versions onto skewers with marshmallows and fruit. Dip half of each piece in melted peanut butter or dark chocolate for added texture.
Experiment with toppings like flaky sea salt or crushed nuts before baking. Share your unique twists online using #GoldenBites—inspire others while celebrating your kitchen wins. Remember: Great recipes become legends through shared joy and creativity.
Conclusion
Mastering the art of homemade treats has never been more achievable. This time-tested formula delivers golden perfection through balanced ratios and smart techniques. With pantry staples like brown sugar and quality butter, you create textures that dazzle—crisp edges hugging tender centers.
What sets this approach apart? Adaptability meets reliability. Swap mix-ins or adjust flavors while keeping the foundation intact. Freeze dough for spontaneous baking sessions or tweak bake times for your ideal chewiness.
Your kitchen triumphs deserve sharing. Post photos of walnut-studded batches or peanut butter-swirled creations. Join countless bakers who’ve transformed simple ingredients into crowd-pleasing delights.
Ready to taste the difference? Preheat your oven, grab a mixing bowl, and let your senses guide you. Every scoop of dough brings you closer to that first unforgettable bite.
FAQ
Why is chilling the dough important?
Chilling helps solidify fats, prevents overspreading, and allows flavors to develop. Resting for at least 1 hour ensures a thicker, chewier texture.
Can I substitute light brown sugar for dark brown sugar?
Yes, but dark brown sugar adds more moisture and a deeper caramel flavor. For softer results, stick with dark brown or mix both types.
How do I prevent cookies from flattening too much?
Avoid over-creaming butter and sugar, use room-temperature eggs, and ensure your baking soda is fresh. Undermixing dry ingredients also helps control spread.
Can I freeze dough for later use?
Absolutely. Scoop dough into balls, freeze on a tray, then transfer to airtight bags. Bake straight from frozen—just add 1-2 extra minutes.
What’s the secret to chewy centers?
Slightly underbake them. Remove when edges are golden but centers look soft. They’ll firm up as they cool on the baking sheet.
Can I add nuts or other mix-ins?
Yes! Walnuts, pecans, or oats work well. Keep total add-ins under 2 cups to maintain dough structure. Toast nuts first for richer flavor.
Why do my cookies turn out dry?
Overmeasuring flour is a common culprit. Spoon flour into measuring cups instead of packing. Also, avoid overbaking—set timers carefully.
Is melted butter better than softened?
Softened butter creates cakier textures, while melted butter yields denser, chewier results. Choose based on your preferred consistency.
Ingredients for the Best Chocolate Chip Cookies:
The Best Chocolate Chip Cookie Recipe Ever
Description
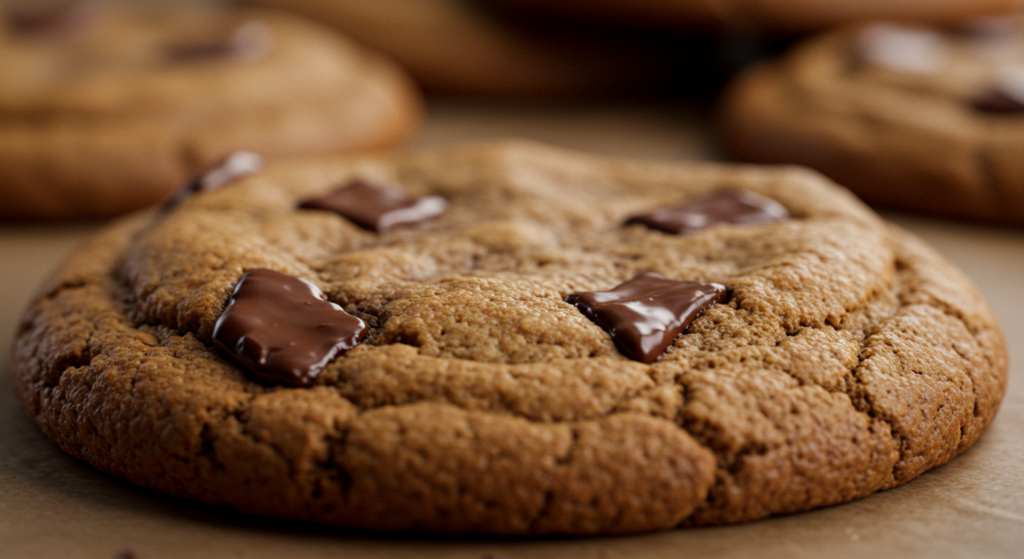
These easy, no-chill chocolate chip cookies are the perfect balance of crispy edges and soft, chewy centers. With simple ingredients and no complicated steps, you can bake a batch in under 30 minutes.
Enjoy the rich flavor of butter, brown sugar, and vanilla in every bite, making them ideal for quick cravings or last-minute gatherings.
Ingredients for the Best Chocolate Chip Cookies:
All-purpose flour – 2 ¼ cups
Nutrition Facts
- Amount Per Serving
- Calories 210kcal
- % Daily Value *
- Total Fat 10g16%
- Saturated Fat 6g30%
- Cholesterol 25mg9%
- Sodium 150mg7%
- Potassium 50mg2%
- Total Carbohydrate 28g10%
- Dietary Fiber 1g4%
- Sugars 18g
- Protein 2g4%
* Percent Daily Values are based on a 2,000 calorie diet. Your daily value may be higher or lower depending on your calorie needs.
Note
Enjoy the perfect balance of crispy edges and gooey centers with these chocolate chip cookies.
Follow these simple steps to bake 12 irresistible cookies that everyone will love. Happy baking! 🍪✨


